General Settings
The General tab in Configuration contains the instance-wide settings that shape how users experience StreamPipes. This is where administrators define the platform name, the public URL, self-service account behavior, visible help links, and the terms users may need to accept after login.
This page focuses on the current Configuration > General screen.
General Settings
What the General tab controls
The General tab is not about pipelines, adapters, or runtime behavior. It defines the platform identity and the user-facing behavior around login, account onboarding, and support.
In the current UI, the page is organized into four sections:
BasicRegistrationLinksTerms
These settings are usually configured early in a deployment and then adjusted when the instance becomes a shared platform for more users or teams.
Open the page
To open the General settings:
- Go to
Configuration. - Open the
Generaltab.
Only administrators should manage these settings.
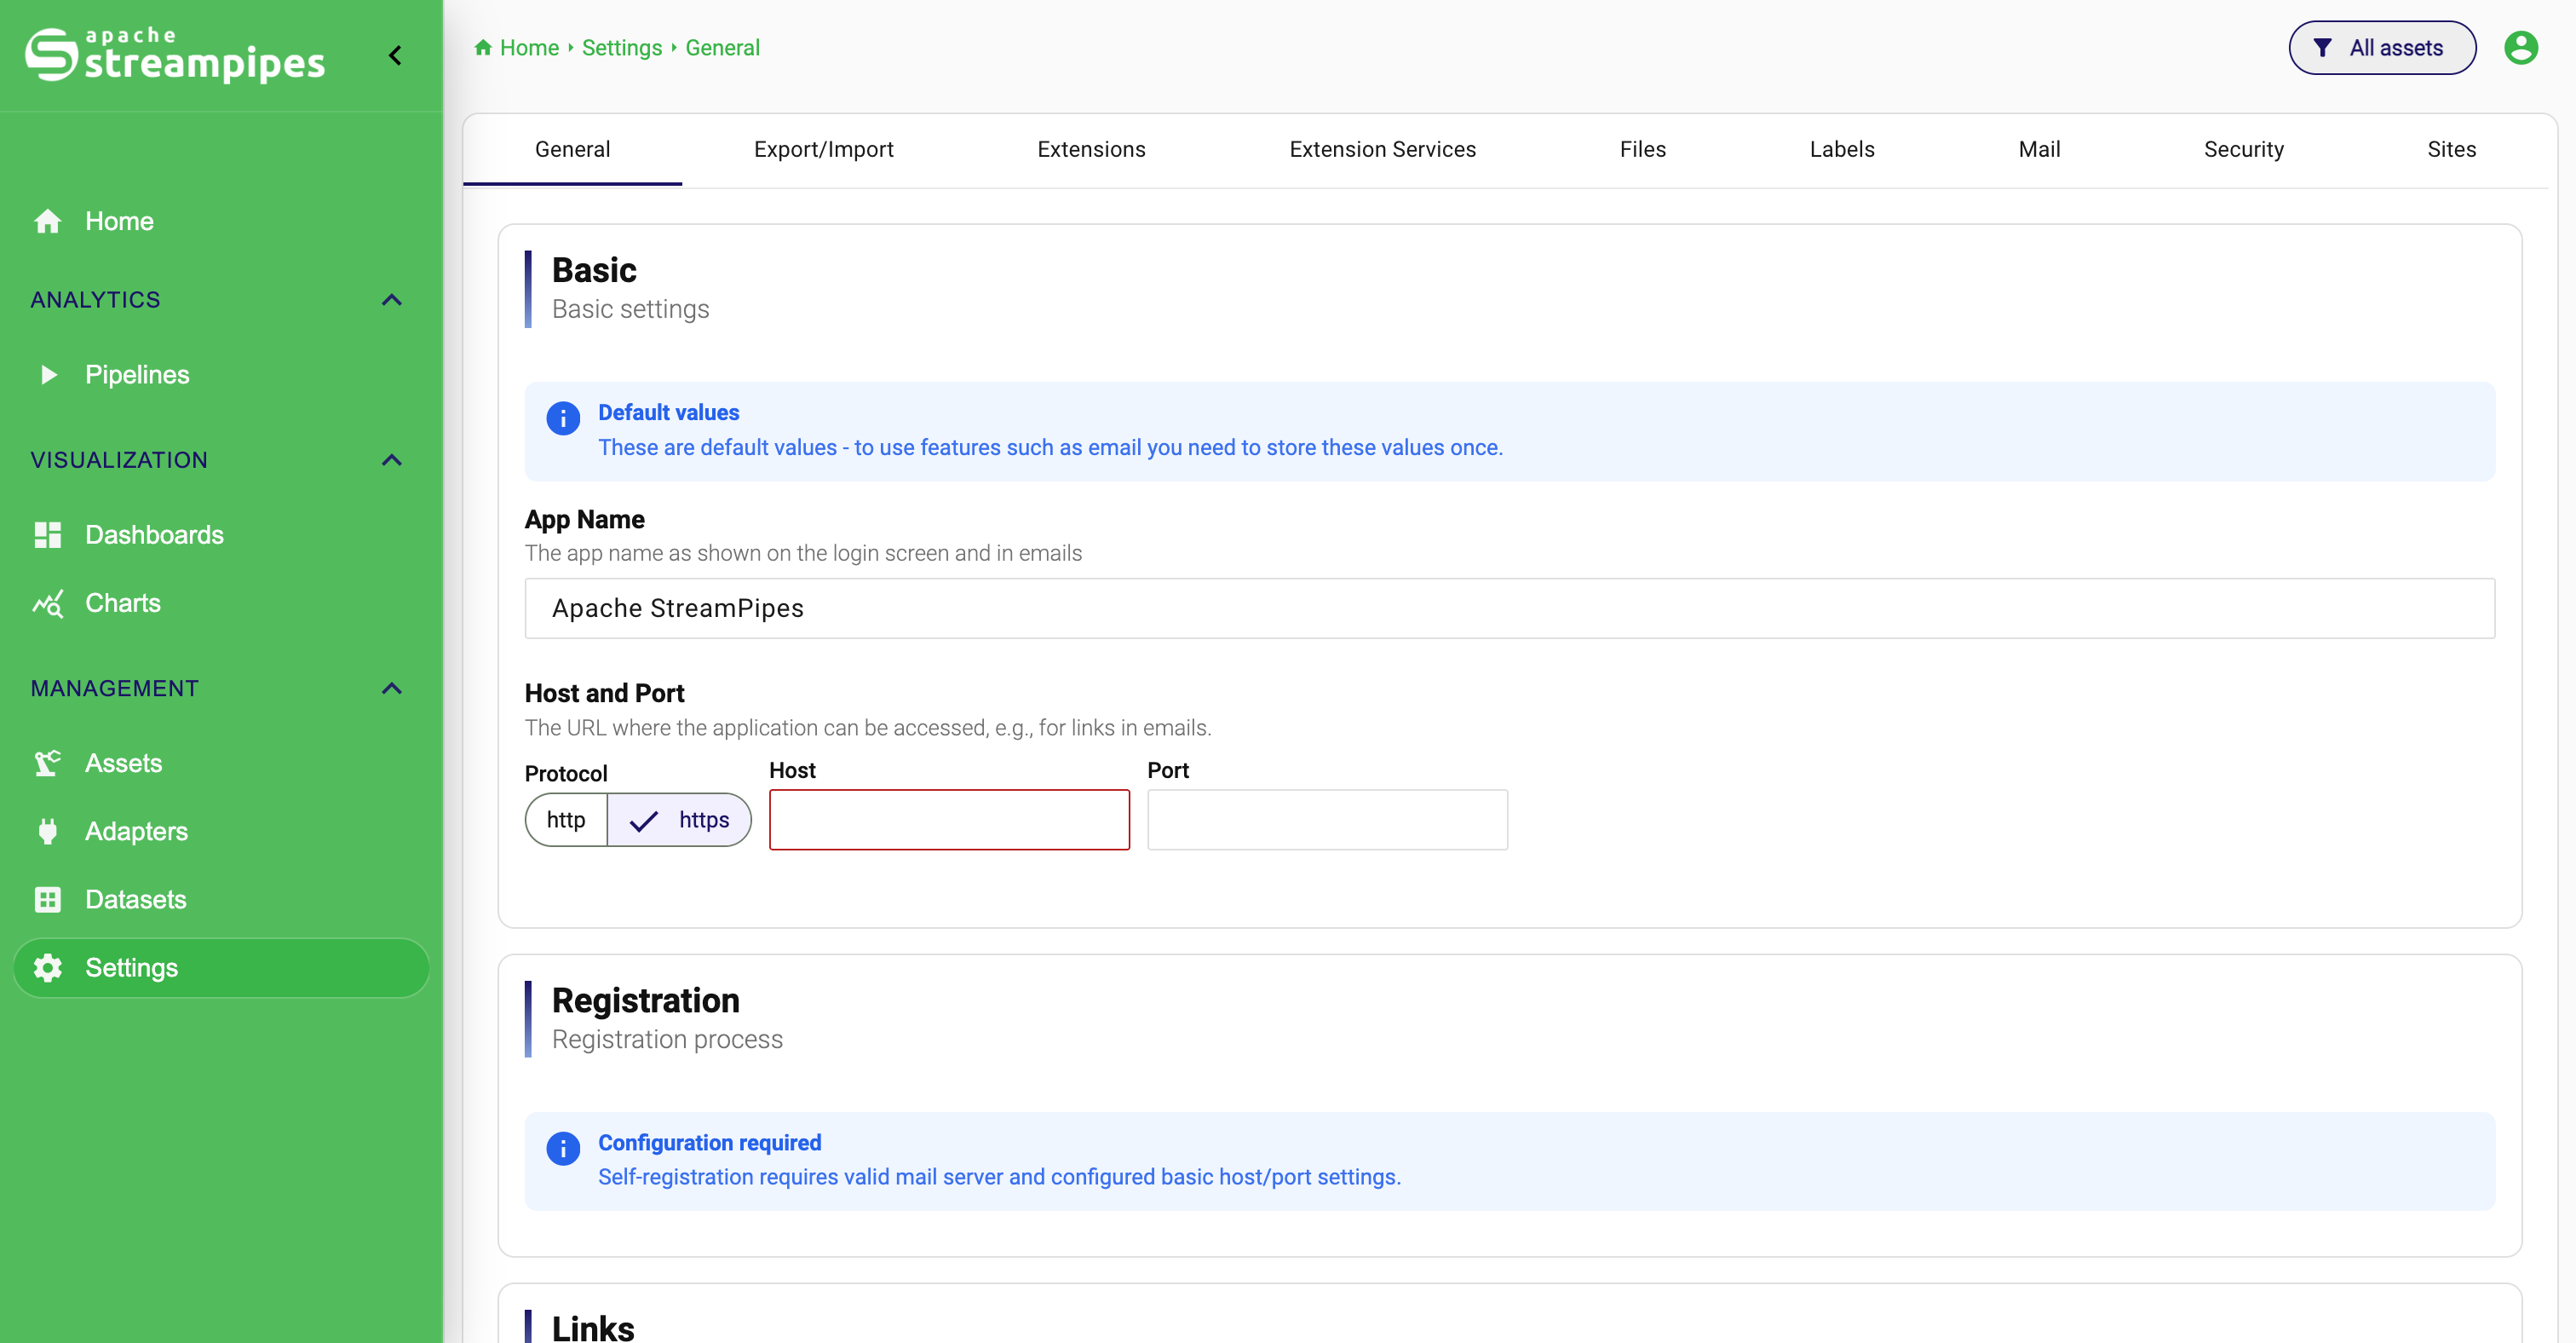
Configure the basic instance information
The Basic section defines how the instance identifies itself and how StreamPipes builds links that users receive or open later.
Set the app name
The App Name is the platform name shown in user-facing places such as the login page and emails sent by StreamPipes.
To change it:
- Open
Configuration > General. - In
Basic, enter the new value inApp Name. - Click
Save.
Use a name that makes sense to your users, especially when StreamPipes is part of a larger internal platform landscape.
Example:
A production deployment may use Factory Data Platform while a test instance may use Factory Data Platform - Staging so users immediately understand which environment they are using.
Configure protocol, host, and port
The Host and Port settings define the public address of the StreamPipes instance.
The current UI includes:
ProtocolHostPort
To configure the public address:
- Open
Configuration > General. - In
Basic, choosehttporhttps. - Enter the public host name in
Host. - Enter the public port in
Port. - Click
Save.
This matters because StreamPipes uses these values when it generates links for users, for example in emails.
Example:
If users should access the platform at https://streampipes.example.com, enter that external address information here instead of an internal container or cluster hostname.
Understand the default-values warning
If StreamPipes still uses default values, the page shows an informational warning. This means the platform can display defaults, but features that depend on the stored instance URL, especially email-based flows, should not be considered fully configured yet.
In practice, save the Basic section once with the correct values before you enable registration or password recovery.
Configure self-service registration and password recovery
The Registration section controls whether users can create accounts themselves and whether they can recover their passwords without administrator intervention.
These options are only useful when two prerequisites are already in place:
- the public host and port are configured and saved
- the mail server settings are configured and working
If those prerequisites are missing, StreamPipes shows an informational banner explaining that self-registration requires valid mail and host settings.
[Image placeholder: Registration section showing the prerequisite info banner and the self-registration options]
Enable self-registration
Use Allow self-registration when users should be able to create their own accounts from the login page.
To enable it:
- Configure the public host, protocol, and port in
Basic. - Configure the mail server in
Configuration > Mail. - Return to
Configuration > General. - In
Registration, enableAllow self-registration. - Select the
Default roles for new users. - Click
Save.
This is useful when StreamPipes is operated as a shared internal platform and administrators should not have to create every user account manually.
Example: If a plant engineering team should be able to onboard itself, self-registration reduces the operational overhead for the platform team.
Choose the default roles for new users
Once self-registration is enabled, the page shows Default roles for new users.
This setting determines which roles new users receive immediately after registration.
To configure it:
- Enable
Allow self-registration. - Open the
Default roles for new usersselection field. - Select the roles that new users should receive automatically.
- Save the configuration.
Choose these roles conservatively. The goal is usually to give users enough access to start working without giving broader permissions than necessary.
Example: If most users only need to create adapters, pipelines, charts, and dashboards, assign the standard working roles instead of administrative ones.
Enable self-service password recovery
Use Allow self-service password recovery when users should be able to reset their own passwords through an email-based flow.
To enable it:
- Make sure mail settings are already working.
- Open
Configuration > General. - In
Registration, enableAllow self-service password recovery. - Click
Save.
This is especially useful in larger deployments where users cannot rely on an administrator for every forgotten password.
Configure documentation and support links
The Links section controls which helpful links StreamPipes exposes on the login page and in the user interface.
The current UI includes:
Documentation LinkSupport Link- visibility toggles for those links
- a separate toggle for the API documentation link on the login page
Configure the documentation link
Use the documentation link when users should be directed to a specific documentation target from inside StreamPipes.
To configure it:
- Open
Configuration > General. - Go to
Links. - Enter the target URL in
Documentation Link. - Enable
Show documentation link on login pageif users should see it before signing in. - Enable
Show documentation link in user menuif signed-in users should be able to reach it later from the interface. - Click
Save.
Example: If your organization maintains an internal documentation portal with deployment-specific procedures, point the documentation link there instead of sending users to a generic external page.
Show the API documentation link on the login page
The Links section also provides Show API documentation link on login page.
Enable this when technical users, developers, or integration teams should be able to discover the API documentation immediately.
To use it:
- Open
Configuration > General. - In
Links, enableShow API documentation link on login page. - Save the configuration.
This is useful when the platform is also used for automation, integration, or platform engineering work.
Configure the support link
Use the support link when users should have a direct path to a helpdesk, ticket system, or internal support portal.
To configure it:
- Open
Configuration > General. - In
Links, enter the target URL inSupport Link. - Enable
Show support link on login pageif it should be visible before login. - Click
Save.
Example: In an enterprise environment, this link can point to the internal OT or IT support portal so users know exactly where to report access issues or data problems.
[Image placeholder: Links section with documentation URL, support URL, and visibility toggles]
Require users to acknowledge terms
The Terms section lets administrators require users to accept a text after login.
This can be used for:
- terms of use
- compliance notices
- internal security rules
- data usage guidance
Enable terms acknowledgment
To require users to accept terms after login:
- Open
Configuration > General. - In
Terms, enableRequire users to accept terms after login. - Enter a
Dialog Title. - Enter the text in the
Termseditor. - Click
Save.
The current UI uses a rich-text editor, so you can format the text instead of entering plain unstructured content.
What users will experience
After this feature is enabled, users are prompted with the configured dialog after login and must acknowledge the text before continuing.
Example: A manufacturing company may require users to acknowledge that the instance contains production-related data and must be used according to internal governance and security rules.
[Image placeholder: Terms section with the acknowledgment toggle, dialog title field, and rich-text editor]
Save and verify your changes
The General page uses one Save button at the bottom of the form.
A practical workflow is:
- Update the
Basicsection first. - Configure dependent sections such as
Registration. - Add user-facing links in
Links. - Configure
Termsif required. - Click
Save. - Verify the result in the relevant place, for example the login page or a test registration flow.
This verification step matters because several settings affect what users see before they even start using adapters, pipelines, or dashboards.
Typical workflows
Prepare a new shared instance
- Set the
App Name. - Configure the public
Protocol,Host, andPort. - Save the page once so the instance no longer relies on defaults.
- Configure mail settings next if the instance should support email-based flows.
Enable self-service onboarding
- Configure the
Basicsection. - Configure
Mail. - Enable
Allow self-registration. - Choose conservative default roles.
- Enable password recovery if required.
- Save and test the login page workflow.
Add organization-specific help and policy content
- Add the documentation link.
- Add the support link.
- Decide where those links should be visible.
- Enable terms acknowledgment if users must accept a policy after login.
- Save and validate the user-facing result.
Common pitfalls
- Do not enable self-registration before host and mail settings are working.
- Do not use internal-only hostnames if users receive externally visible links by email.
- Choose default roles conservatively when enabling self-service onboarding.
- Keep documentation and support links current because they become part of the login experience.
- If you require terms acknowledgment, maintain the text like any other user-facing policy content.