
When it comes to ease of use, Docker Desktop is the goto on windows platform, however for business use there are licensing involved.
So why not use Podman Desktop, it’s Docker compatible?
Well yes, almost, would be the answer.
For Podman Desktop to handle Apache StreamPipes we need to do a few tricks.
This guide walks you through installing and running Apache StreamPipes using Podman inside a WSL environment and will try to explain to you the how’s and why’s.
Prerequisits
Enable WSL on your machine.Install Podman Desktop.
After installing Podman Desktop you need to run the setup to enable Podman core.
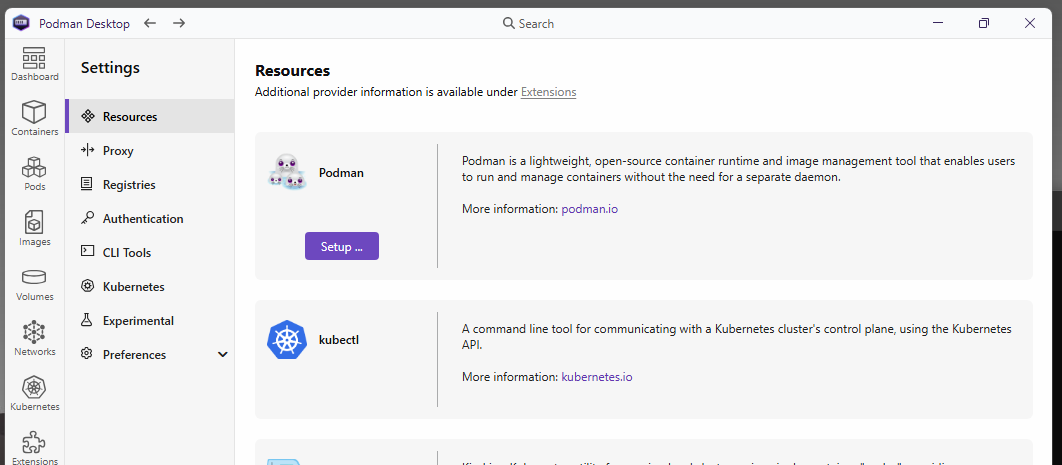
Alter this you can setup a virtual machine in which to host Apache Streampipes on.

Now we have to embark on a voyage into the (dark) Linux terminal country, so that we can later enjoy the use of a familiar Windows UI in Podman Desktop.
Connect to Your Podman WSL Machine
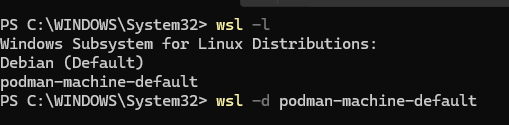
Open PowerShell to get a list of available machines.
wsl -l
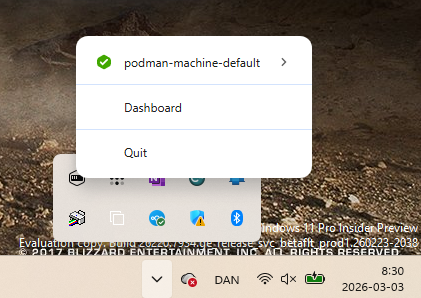
Or you can see the Podman machine in the tray menu
In PowerShell connect to the Podman machine.
wsl -d podman-machine-default
Install Required Tools
Podman uses Fedora Linux and the dnf package manager. Install the following packages to make your life easier.
- podman-compose
sudo dnf install podman-compose.noarch
- unzip
sudo dnf install unzip.x86_64
- nano
sudo dnf install nano.x86_64
- mc
sudo dnf install mc.x86_64
Get Apache StreamPipes
The current release can be downloaded here.
For ease save it in a subfolder on your C-drive, e.g. c:\Download
Lets make a folder in WSL to hold our files, and go into it.
mkdir StreamPipes
cd StreamPipes
We can now directly copy the downloaded *.zip file to our WSL, note the version number on the zip file.
cp /mnt/c/Download/apache-streampipes-0.98.0-source-release.zip /home/user/StreamPipes/
If the terminal is still a bit outside you'r comfort zone Midnight Commander can help you.
mc
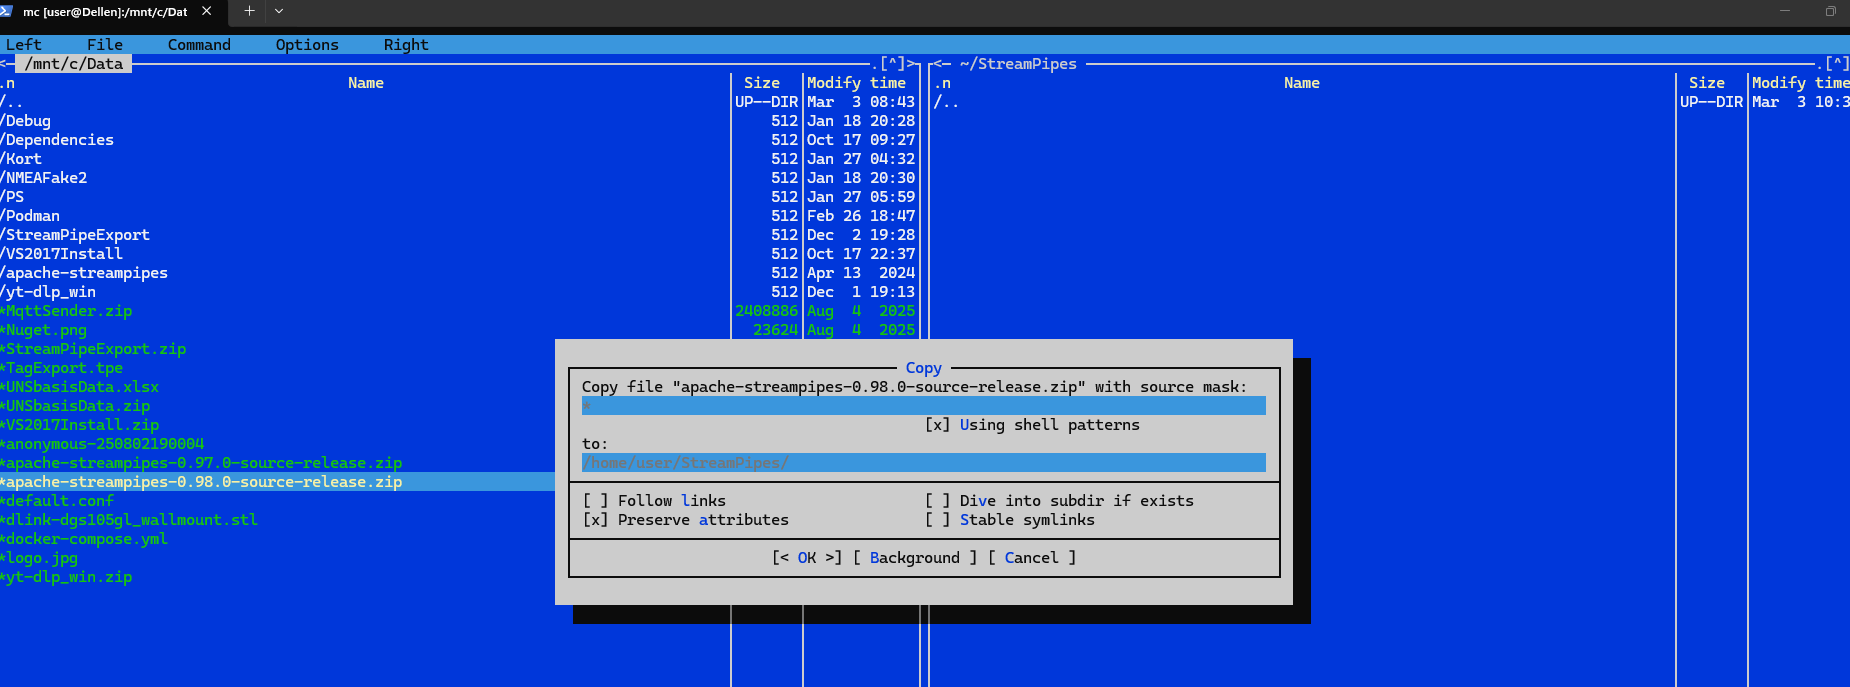
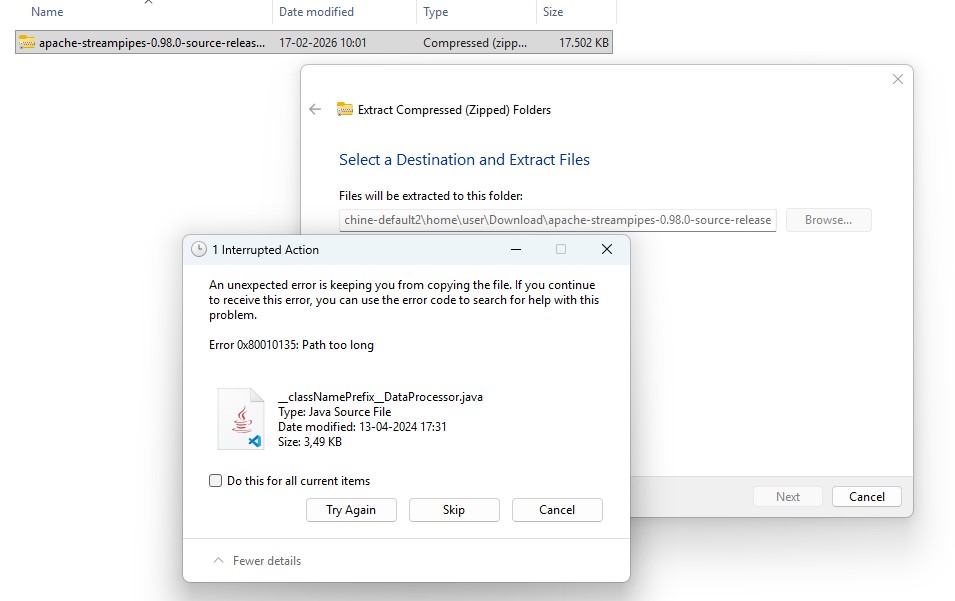
It is possible to reach your WSL from Windows filemanager, but unzipping files will give issues due to long filenames. Therefore the approch of handling the files from WSL is preferable.
Unpack and Navigate to the Compose Directory
Unzip the package by using the unzip command and navigate to the extracted folder and go to 'installer/compose' directory.
unzip apache-streampipes-0.98.0-source-release.zip
cd apache-streampipes-0.98.0/installer/compose
Update docker-compose.yml
Modify the docker-compose-yml with nano
nano docker-compose.yml
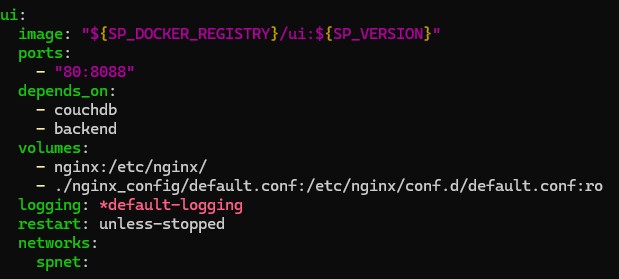
And add the following.
- ./nginx_config/default.conf:/etc/nginx/conf.d/default.conf:ro
Looking like this.
Remove this line since it is not relevant for this setup.
environment:
      - SP_HTTP_SERVER_ADAPTER_ENDPOINT=extensions-all-iiot:8090
And yes you can copy paste from windows into nano. Use CRTL + x to quit, and answer ‘y’ to save the file. Here is how the docker-compose.yml should look loke
# Licensed to the Apache Software Foundation (ASF) under one or more
# contributor license agreements.  See the NOTICE file distributed with
# this work for additional information regarding copyright ownership.
# The ASF licenses this file to You under the Apache License, Version 2.0
# (the "License"); you may not use this file except in compliance with
# the License.  You may obtain a copy of the License at
#
#    http://www.apache.org/licenses/LICENSE-2.0
#
# Unless required by applicable law or agreed to in writing, software
# distributed under the License is distributed on an "AS IS" BASIS,
# WITHOUT WARRANTIES OR CONDITIONS OF ANY KIND, either express or implied.
# See the License for the specific language governing permissions and
# limitations under the License.

# global logging
x-logging:
  &default-logging
  options:
    max-size: '12m'
    max-file: '5'
  driver: json-file

services:

  # StreamPipes services
  backend:
    image: "${SP_DOCKER_REGISTRY}/backend:${SP_VERSION}"
    depends_on:
      - couchdb
    environment:
      - SP_PRIORITIZED_PROTOCOL=nats
    volumes:
      - backend:/root/.streampipes
    logging: *default-logging
    restart: unless-stopped
    networks:
      spnet:

  ui:
    image: "${SP_DOCKER_REGISTRY}/ui:${SP_VERSION}"
    ports:
      - "80:8088"
    depends_on:
      - couchdb
      - backend
    volumes:
      - nginx:/etc/nginx/
      - ./nginx_config/default.conf:/etc/nginx/conf.d/default.conf:ro
    logging: *default-logging
    restart: unless-stopped
    networks:
      spnet:

  couchdb:
    image: couchdb:3.3.1
    environment:
      - COUCHDB_USER=admin
      - COUCHDB_PASSWORD=admin
    volumes:
      - couchdb:/opt/couchdb/data
    logging: *default-logging
    restart: unless-stopped
    networks:
      spnet:

  influxdb:
    image: influxdb:2.6
    environment:
      - INFLUXDB_DATA_ENGINE=tsm1
      - INFLUXDB_REPORTING_DISABLED=false
      - INFLUXDB_ADMIN_ENABLED=true
      - DOCKER_INFLUXDB_INIT_USERNAME=admin
      - DOCKER_INFLUXDB_INIT_PASSWORD=sp-admin
      - DOCKER_INFLUXDB_INIT_ADMIN_TOKEN=sp-admin
      - DOCKER_INFLUXDB_INIT_ORG=sp
      - DOCKER_INFLUXDB_INIT_BUCKET=sp
      - DOCKER_INFLUXDB_INIT_MODE=${SP_INFLUX_INIT_MODE}
    volumes:
      - influxdb:/var/lib/influxdb
      - influxdb2:/var/lib/influxdb2
    logging: *default-logging
    restart: unless-stopped
    networks:
      spnet:

  nats:
    image: nats
    restart: unless-stopped
    networks:
      spnet:

  # Lite version pipeline elements
  extensions-all-iiot:
    image: "${SP_DOCKER_REGISTRY}/extensions-all-iiot:${SP_VERSION}"
    logging: *default-logging
    restart: unless-stopped
    networks:
      spnet:

volumes:
  backend:
  couchdb:
  influxdb:
  influxdb2:
  nginx:


networks:
  spnet:
    driver: bridge
Add Custom Nginx Configuration
Create a 'nginx_config' directory
mkdir nginx_config
In that directory you add a 'default.conf' with the help of Nano.
cd nginx_config
nano default.conf
The following nginx.conf is almost identical to the default Docker-based setup, with the only change being that the resolve parameter is removed as it doesn't work reliably with Podman's networking.
server {
  listen       8088 default_server;
  root /usr/share/nginx/html;

  # Enable gzip compression
  gzip on;
  gzip_static on;
  gzip_types text/plain text/css application/json application/x-javascript text/xml application/xml application/xml+rss text/javascript;
  gzip_proxied  any;
  gzip_vary on;
  gzip_comp_level 6;
  gzip_buffers 16 8k;
  gzip_http_version 1.1;

  # StreamPipes Backend Proxy

  location /streampipes-backend {
    proxy_set_header X-Real-IP $remote_addr;
    proxy_set_header X-Forwarded-For $proxy_add_x_forwarded_for;
    proxy_set_header X-NginX-Proxy true;
    proxy_pass http://backend:8030;
    proxy_ssl_session_reuse off;
    proxy_set_header Host $http_host;
    proxy_redirect off;
  }
}
Now we are almost there, and you are getting good at this terminal thing, so is there a use for Podman Desktop, you ask yourself?
Start Up StreamPipes Using Podman Compose
Do
sudo podman-compose -f docker-compose.yml up -d
to import and run all containers.
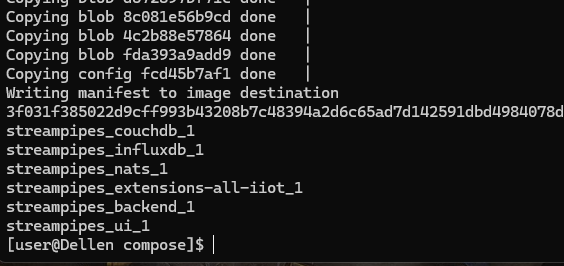
Once complete, Apache StreamPipes will be available in Podman Desktop and accessible at http://localhost:80.
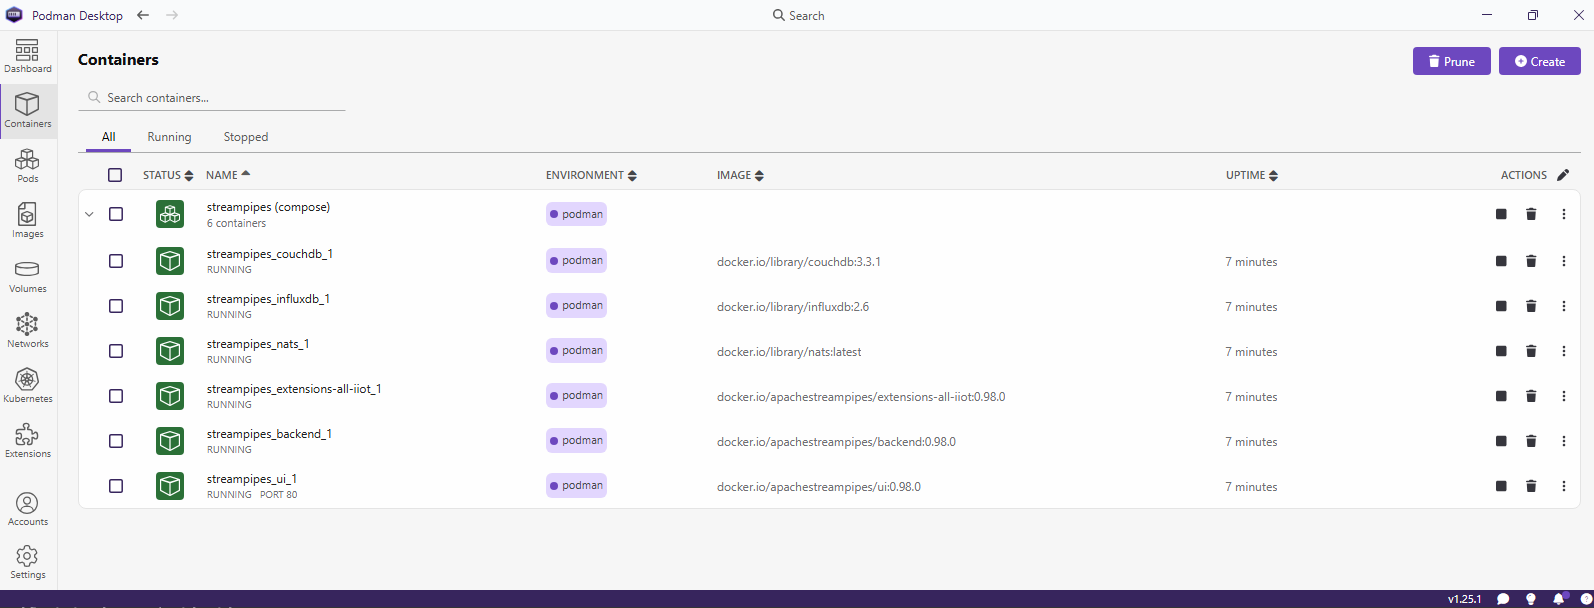
Congratulations, now we can start to use the strongpoints of Podman which enable us in a fast and terminal free way to make backups of our projects or scale them further with Kubernetes.
Happy StreamPiping on Windows with Podman Desktop